Unlock the full potential of a fresh coconut by transforming it into delightful homemade coconut shreds and chips right in your own kitchen! Beyond the refreshing water and creamy milk, the humble coconut offers a treasure trove of possibilities for the home cook and DIY enthusiast. Not only can you create delicious, preservative-free coconut snacks, but the sturdy shell can also be repurposed into beautiful, eco-friendly DIY coconut bowls. This comprehensive guide will walk you through everything you need to know, from selecting the perfect mature coconut to drying your handcrafted shreds and chips in either an oven or a dehydrator, ensuring you get maximum value from every single coconut.
The Versatile Coconut: Maximizing Every Part
Coconuts are truly one of nature's most remarkable and versatile fruits. From their hydrating water to their nutritious flesh, and even their durable outer shell, there’s very little that goes to waste. Making your own coconut shreds chips bowls at home is not just a rewarding culinary project; it's also a fantastic way to embrace sustainability and enjoy superior freshness.
Why bother making your own when you can buy shredded coconut or chips from the store? The answer lies in several key benefits:
- Unmatched Freshness: Store-bought options often contain preservatives, sweeteners, or are simply not as vibrant as freshly processed coconut.
- Cost-Effectiveness: Buying whole coconuts and processing them yourself is often significantly cheaper than purchasing pre-packaged products over time.
- Zero Waste: By utilizing the flesh for shreds and chips and the shell for bowls, you significantly reduce waste, embodying an eco-conscious approach.
- Customization: You control the thickness, texture, and whether your coconut is toasted or plain, allowing for endless culinary creativity.
Embracing the whole coconut experience means getting more than just one ingredient. It means embracing a sustainable lifestyle where every part of this incredible fruit finds a purpose, from your morning smoothie to the bowl it's served in. You can truly maximize your coconut: homemade bowls, shreds, and chips DIY, ensuring no part goes to waste.
Preparing Your Coconut: From Whole to Harvest-Ready
The journey to perfect coconut shreds and chips begins with selecting and preparing a mature coconut. This initial step is crucial for both ease of processing and the quality of your end product.
Choosing the Right Coconut
Look for a mature brown coconut, rather than a young green one. Mature coconuts have firmer flesh and are ideal for shredding and chipping. When selecting, give it a good shake; you should hear plenty of water sloshing around inside. This indicates a fresh, healthy coconut. Avoid coconuts that feel unusually light, have cracks, or show any signs of mold.
Opening Your Coconut Safely
Opening a coconut can seem intimidating, but it's quite straightforward with the right technique:
- Drain the Water: Locate the three "eyes" on one end of the coconut. One or two of them will be softer. Use a sharp, sturdy tool like a screwdriver, ice pick, or even a clean drill bit to pierce two of these eyes. Invert the coconut over a bowl to drain the coconut water. Save this refreshing liquid to drink or use in recipes!
- Cracking the Shell: Once drained, place the coconut on a stable surface (a kitchen towel can prevent it from rolling). Hold it firmly and use a hammer or the blunt side of a heavy cleaver to strike around the 'equator' of the coconut, rotating it as you go. Apply firm, even blows until a crack forms around the middle. You might need to strike it a few times in the same spot to get a good crack.
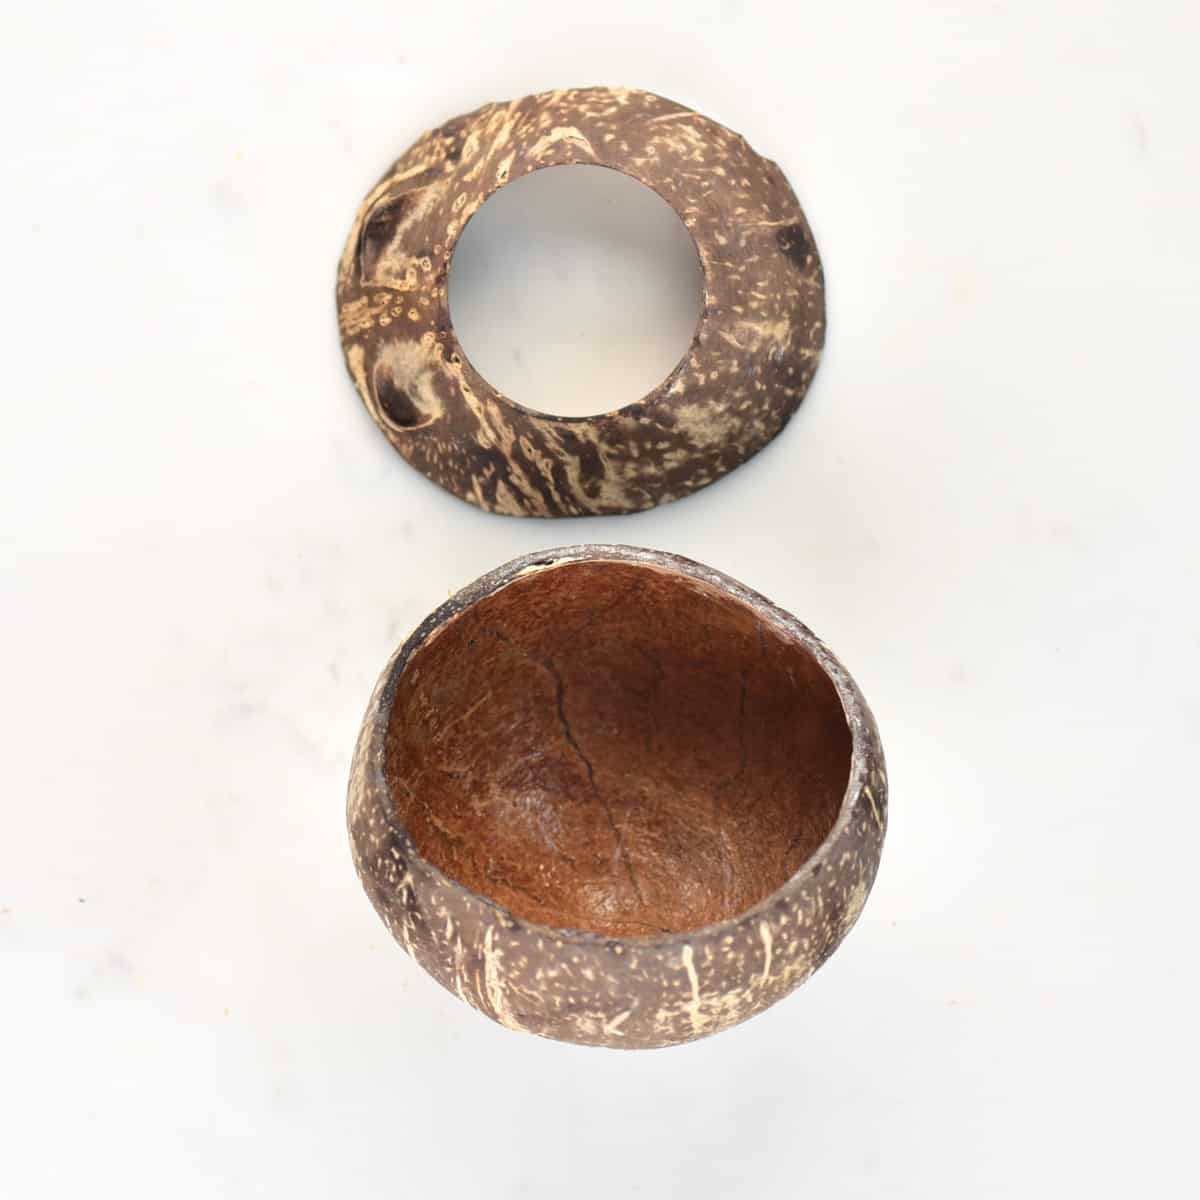
- Separating the Halves: Once cracked, gently pull the two halves apart. If you're planning to make decorative or food-safe coconut bowls, a small handsaw would give you a much cleaner, more even cut for the shells, rather than the hammer method which can result in jagged edges. However, for just getting to the flesh for shreds and chips, the hammer method is perfectly fine.
- Removing the Flesh: Use a sturdy butter knife or a specialized coconut tool to pry the white flesh away from the hard outer shell. Work your way around the edge, being careful not to cut yourself. The flesh should come out in large pieces or sections.
Peeling the Brown Skin
After removing the flesh from the shell, you'll notice a thin, brown layer of skin clinging to the white coconut meat. While edible, this skin can give your shreds and chips a slightly mottled appearance. For pristine white coconut shreds or chips, use a vegetable peeler or a small paring knife to carefully remove this brown skin. This step is optional but recommended for a visually appealing end product.
Crafting Your Homemade Coconut Shreds and Chips
Once your coconut flesh is clean and peeled (if desired), it’s time to transform it into the desired texture for your homemade coconut shreds and chips. The tools you use will determine the final product.
For Coconut Shreds (Fine to Coarse)
A box grater is your best friend here. Depending on the size of the holes you use, you can achieve different textures:
- Fine Shreds: Use the smallest holes on your grater. This will yield delicate, almost flour-like shreds, perfect for baking where you want an even distribution of coconut flavor without large pieces, or for a very fine topping.
- Standard Shredded Coconut: Use the medium or large holes on your grater. This is the most common size, ideal for granola, muffins, cakes, or as a topping for smoothie bowls and yogurts.
Hold a piece of coconut flesh firmly and grate it down towards the grater, being mindful of your fingers. You can also use a food processor with a grating attachment for a quicker process, especially if you have a large amount of coconut.
For Coconut Chips (Flakes)
Coconut chips offer a different textural experience – crispy, substantial, and perfect for snacking or adding crunch to dishes. There are a few ways to achieve them:
- Vegetable Peeler Method: This is a simple and effective method. Take a peeler and run it along the flat side of your coconut flesh. This will create long, thin, irregular strips, much like store-bought coconut flakes or chips. The beauty of this method is the natural variation in shape and thickness.
- Mandoline or Slicer Attachment: For more uniform chips, a mandoline slicer or the slicing attachment on a food processor can provide consistent thickness. Set the slicer to a thin setting (1-2mm) and carefully slice the coconut flesh. Always use the safety guard when using a mandoline.
Experiment with different thicknesses. Thinner chips will crisp up more quickly, while slightly thicker ones will offer a chewier texture.
Drying Methods: Oven vs. Dehydrator for Perfect Crispy Goodness
Once you have your desired shreds or chips, the next crucial step is drying them to achieve that perfect crispness and extend their shelf life. Both an oven and a dehydrator can yield excellent results, each with its own advantages.
Oven Method: Quick & Convenient
The oven is a readily available tool for most home cooks and can quickly dry and lightly toast your coconut creations.
- Preheat: Preheat your oven to a low temperature, typically between 250°F and 300°F (120°C-150°C). A lower temperature is better for drying, while a slightly higher one will encourage more toasting. If your oven has a convection setting, this can help with more even drying.
- Prepare Baking Sheet: Spread your coconut shreds or chips in a single layer on a baking sheet lined with parchment paper. Overcrowding the pan will lead to uneven drying.
- Bake and Monitor: Bake for 10-20 minutes, stirring and flipping the coconut every 5-7 minutes to ensure even drying and prevent burning. Coconut can go from perfectly toasted to burnt very quickly, so vigilance is key!
- Cool: Once golden brown and crispy, remove from the oven and let cool completely on the baking sheet. They will crisp up further as they cool.
Tip: For a more subtle drying without much toasting, you can use an even lower oven temperature, around 200°F (95°C), but this will require a longer drying time (up to an hour or more), still with frequent stirring.
Dehydrator Method: Gentle & Consistent
A dehydrator offers a gentler, low-temperature drying process that can help preserve more of the coconut's natural enzymes and nutrients. It also requires less hands-on monitoring than an oven.
- Arrange on Trays: Spread your coconut shreds or chips in a single layer on your dehydrator trays. Ensure there's good airflow between pieces.
- Set Temperature: Set your dehydrator to a temperature between 115°F and 135°F (46°C-57°C). Lower temperatures (115°F/46°C) are considered "raw" and take longer, while slightly higher temps will speed up the process.
- Dehydrate: Dehydrate for 6-12 hours, or until the coconut is completely dry and crispy. The exact time will depend on the thickness of your coconut pieces, the humidity, and your dehydrator's efficiency. You don't need to stir constantly, but checking and rotating trays every few hours can ensure even drying.
- Cool: Once fully dehydrated, let the coconut cool completely before storing.
Which method is best? The oven is faster and great for a quick batch, especially if you want a toasted flavor. The dehydrator is ideal for larger batches, a gentler drying process, and less active supervision, offering a more consistent, evenly dried product without the risk of burning.
Storage Tips
Once your homemade coconut shreds and chips are completely cool and dry, store them in an airtight container at room temperature. They should last for several weeks, or even months, if stored properly in a cool, dark pantry. Avoid humidity, as this can cause them to soften or spoil.
Creative Uses for Your Homemade Coconut Creations
Now that you've mastered making your own coconut shreds and chips, the culinary possibilities are endless!
- Smoothie Bowls & Breakfasts: Sprinkle generously over smoothie bowls, oatmeal, yogurt, or cereal for added texture and tropical flavor.
- Baking & Desserts: Incorporate into cookies, muffins, cakes, granolas, or sprinkle over fruit salads and puddings. Toasted coconut adds a beautiful depth of flavor.
- Savory Dishes: Don't limit coconut to sweet dishes! Toasted coconut chips can add an amazing crunch and subtle sweetness to curries, stir-fries, or even as a topping for roasted vegetables.
- Healthy Snacking: Enjoy plain as a satisfying, fiber-rich snack. You can also lightly sweeten them with a drizzle of maple syrup or honey before drying, or spice them with a pinch of sea salt and chili powder for a savory twist.
Making homemade coconut shreds and chips is a rewarding endeavor that connects you more deeply with your food and the natural world. It's a testament to the incredible versatility of the coconut, allowing you to create wholesome, delicious, and customized ingredients for all your culinary adventures. So grab a mature coconut, and start shredding, chipping, and enjoying the fruits of your labor!
